So I do not eat cake! Basically, I’m not a sweet tooth, so I don’t enjoy or get to eat any sweet treats. But this cake right here is my weakness! I remember the first time i heard of carrot cake, all I could think of was “yuck, who would want to eat that?” I was so skeptical about it, especially from it’s name, that i couldn’t bring myself to think that it was any good.
Then i took a bite of it and I was in love!!! I couldn’t believe there was a cake out thee that i could stomach eating a full slice of. I still get excited every time I eat it!

The original recipe of the carrot cake was from cakes.co.ke, but I have since adapted it to suit my non sweet tooth self and family, and I love Raisins, so why not add them to this mix and make it even better!
Here we go!

Ingredients – makes 1 kg cake
- 2 cups Grated Carrots
- 2 cups white sugar
- 4 eggs
- 2 cups vegetable oil
- 1 cup Pradip Raisins
- 2 teaspoons Pradip Cinnamon Powder
- 2 teaspoons Pradip Baking Powder
- 1 teaspoon Pradip Vanilla (optional)
- 3 cups all purpose flour
Method
Preheat your oven to 180°C. Grease and dust a 10″ baking tin, set aside.
Sift the all purpose flour with the cinnamon and the baking powder. Set aside.
In a Large bowl, put the grated carrots and add the sugar. Whisk well, and let this sit for at least 10 minutes. This will allow the carrots to remove their natural liquid, adding more flavour to the cake and also ensuring the cake remains moist.
Once there is enough visible liquid, add the Vanilla, eggs and oil, and whisk.
Add the raisins, and whisk, then add the flour mixture, a little at a time, to ensure its well incorporated. Scrape the bowl with a rubber spatula when necessary.
Pour the cake batter into the prepared baking tin, and bake the cake for 45 minutes, or until knife test comes out clean.
Once the cake is ready, let it cool for an hour before removing it from the tin. Let it cool completely before decorating.

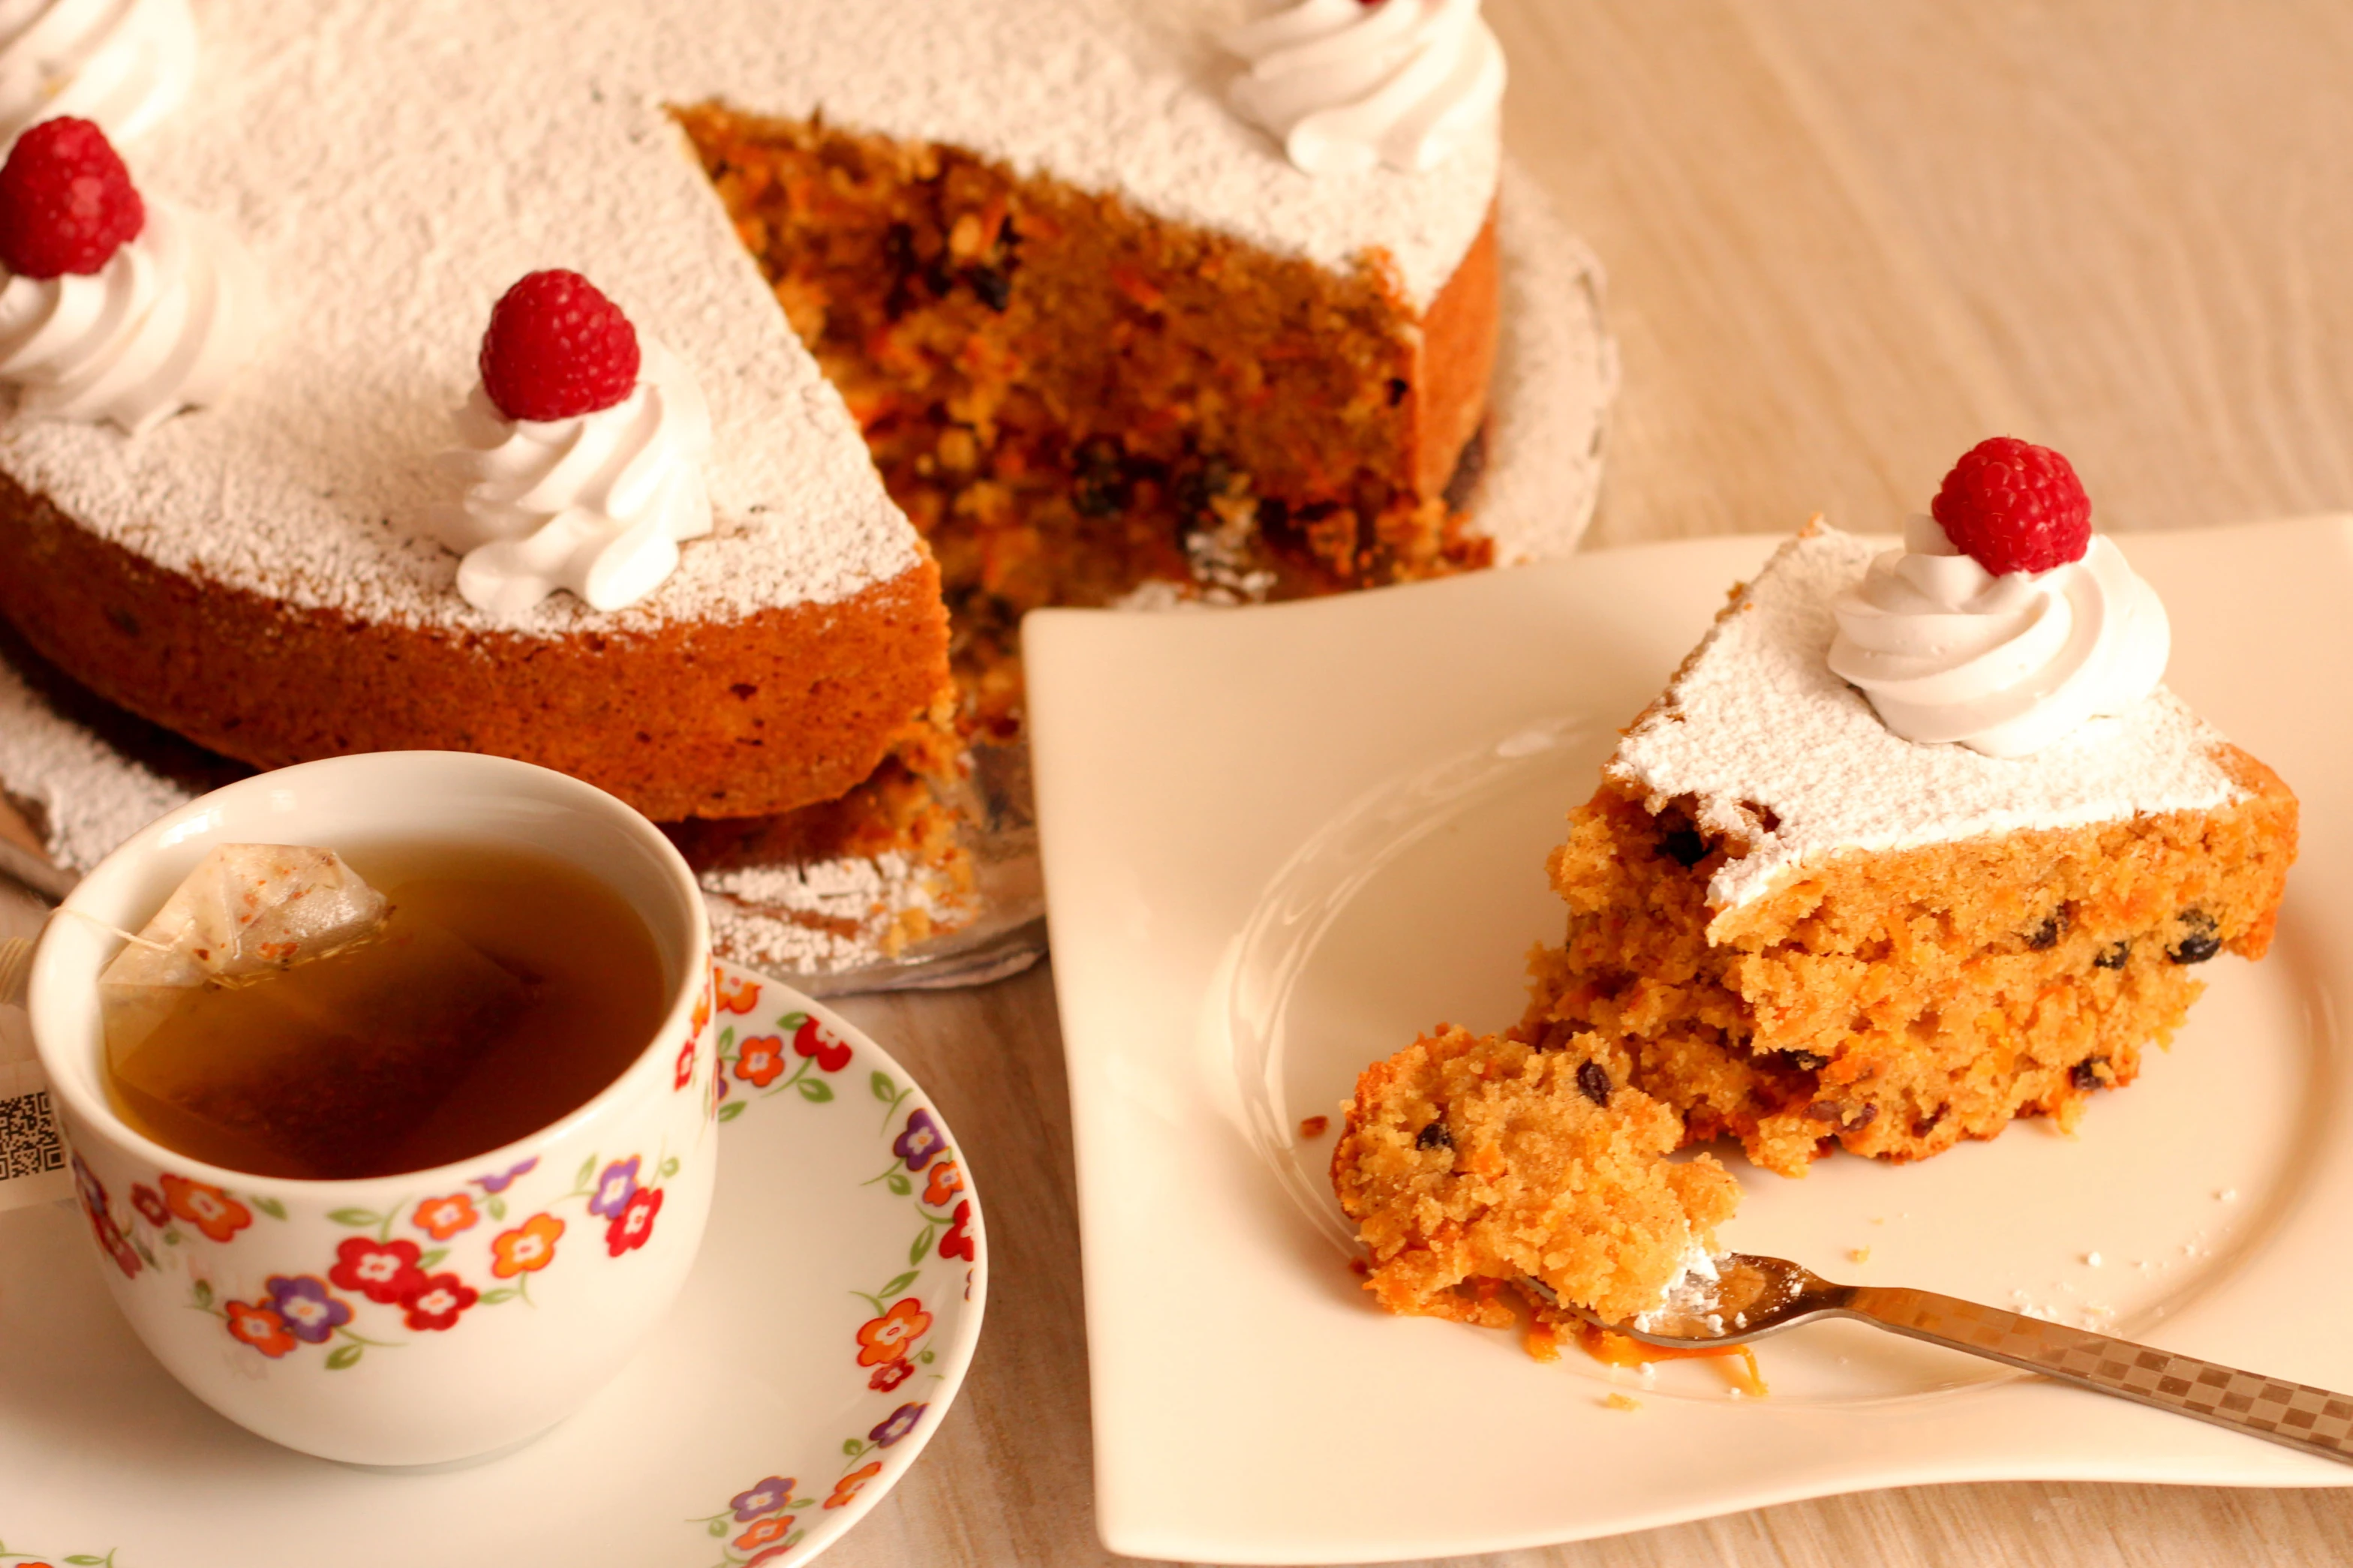
I decorated mine with sprinkled icing sugar, a dollop of whipping cream and a raspberry.

This cake is overly moist, and it will serve as my breakfast, lunch and dinner.

For a visual tutorial, here’s the step by step video on our channel.